Having a presence online is crucial for every business these days, and those doing commerce online need to be better prepared for any unforeseen scenario that can jeopardize their sales and user experience. Web hosting is the backbone of your website, and the web hosting industry has evolved over the years, from shared hosting servers running various configurations of applications and websites to dedicated cloud servers running containers.
Even with evolving web hosting technologies we see today, one can not be sure that your website will be able to handle a spike in traffic during a live event or a sales campaign. In order to be certain it is wise to run stress tests on your websites to know the absolute limits of how many visitors your configuration of server hardware and software will be able to handle before falling apart.
At Convesio, we work with our clients to run stress tests on their WordPress websites. We use various tools to run various stress testing scenarios on a client site and observe how our containerized web hosting will hold up during busy times.
Why should you load test your WordPress website
WordPress without a doubt is the platform of choice for many to build their websites. But little do many people know that in order to make WordPress websites scalable, i.e. to handle thousands of concurrent visitors you need to have a complex configuration of software and hardware. A simple shared hosting plan and even single tier cloud hosting won’t cut it. In order to be better prepared for traffic spikes, you should stress test beforehand to see how much load your WordPress website can handle.
How to prepare for load testing
Before you begin setting up your stress test on your WordPress website, it is wise to talk to your hosting provider and let them know that you are about to run a stress test. It is even better to work with your hosting provider’s support team to run the load tests. Why we recommend that you talk to your hosting provider is because of the following reasons:
- Stress testing tools send “fake or virtual users” on your website, these users can be marked as malicious traffic by your web hosting provider and blocked entirely. It is part of their security protocol and helps you against DDoS attacks. In order to allow the stress test to take place, you will need to talk to the support team.
- Many “modern” web hosting providers have plans that limit the number of visitors you can serve within a month on your website. If you exceed that limit of visitors, you will be billed for the rest of the traffic. In order to avoid any surprises in your hosting bill, it is best to work with your hosting provider to run the load tests, chances are your hosting provider provides load testing service and that will be charged separately.
- If you plan to run the load tests on your live website, it is best to run them when you have the least amount of real visitors on your website. Because during the load tests if you hit the ceiling of your server resources, chances are that your website will go unresponsive.
There are a few types of tests on your site that can tell you different insights about your site’s performance.
Website Load Testing Tools
There are various methods you can use to load test your website, some of the popular tools to stress test a WordPress website that we use at Convesio are.
If our client has any other recommendations of the tool or script they wish to use, our team of experts will work with the client and help set it up too.

Website: roboswarm.dev
Price: From USD $29 / month. Free plan available
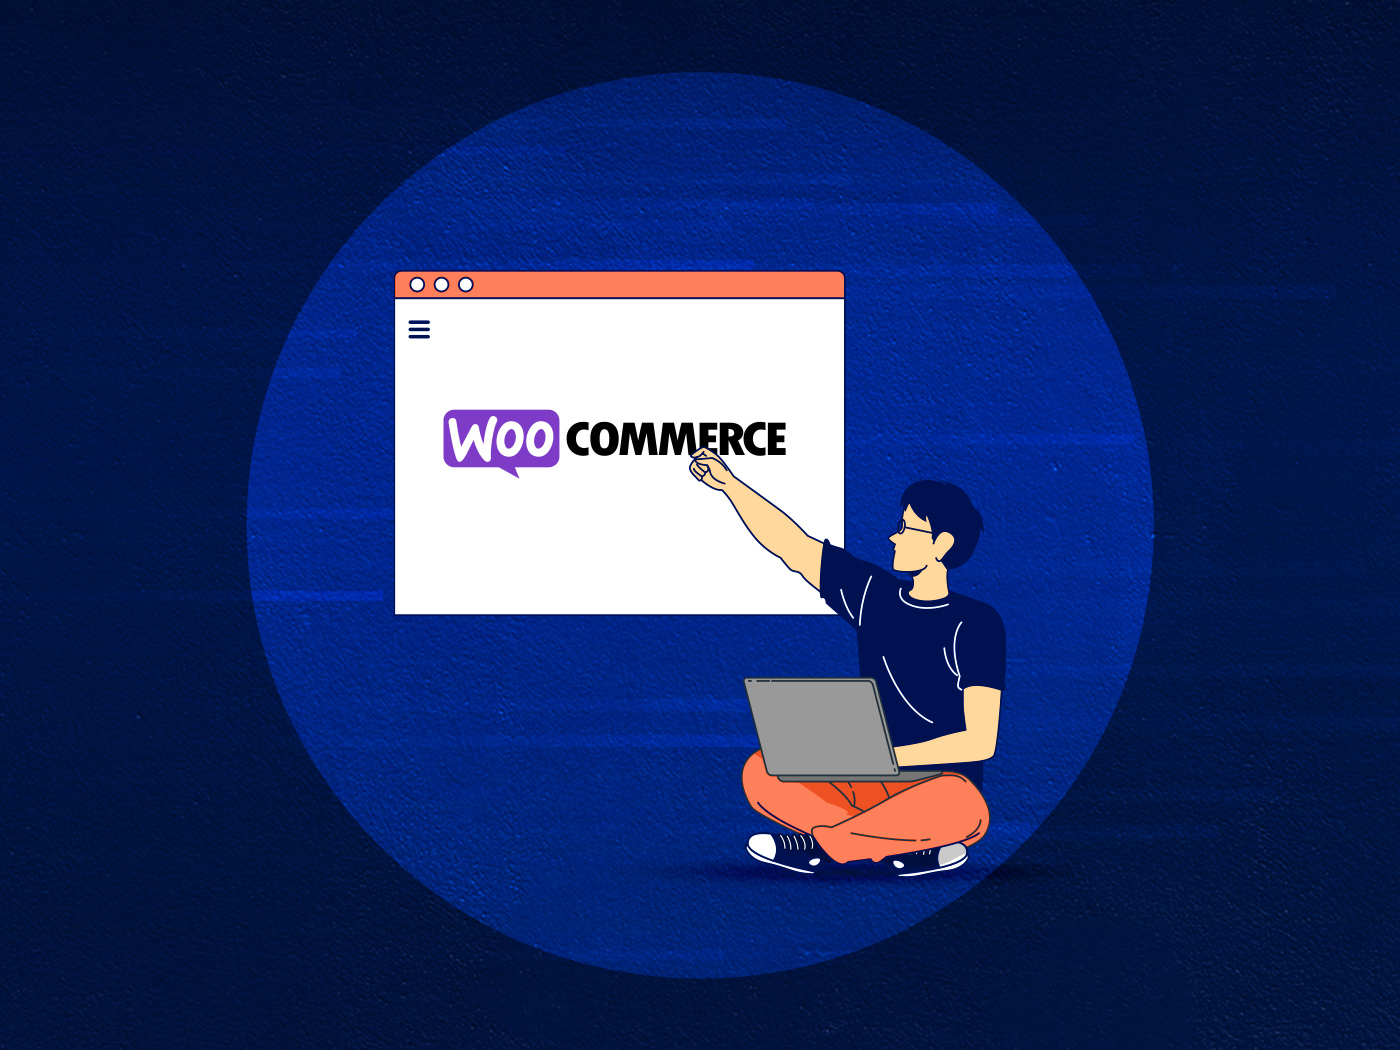
RoboSwarm is a great load testing tool offering free/premium plans. We really like this tool at Convesio because it allows you to load test WooCommerce sites as well. It gives you the functionality to see how many WooCommerce checkouts per second your site can handle. This can be a really useful tool for big WooCommerce sites expecting heavy traffic during sales/holidays.

Website: loader.io
Price: From USD $99 / month. Free plan available
Loader.io is a very simple solution that lets you spin up a load test in minutes. The dashboard is very intuitive and will let you draw quick conclusions based on your testing results. Unlike RoboSwarm, Loader.io does not have any WooCommerce testing capabilities. That being said they have a generous free plan and allow you to have a load test setup in minutes.

Website: locust.io
Price: Free
Locust is a great open-source load testing tool that lets you write simple python scripts to simulate users on a webpage. This is another good option for someone with some programming experience looking for an open-source load testing solution.

Website: supervisor.com
Price: From USD $39.50 / month. Free trial available
Supervisor.com’s approach is different. Robots use real web browsers to simulate users, measuring the sequence of requests as they would happen normally as a person interacts with a website. For example, the path through a conversion funnel is never the same: different elements are clicked and timings between them are randomized.