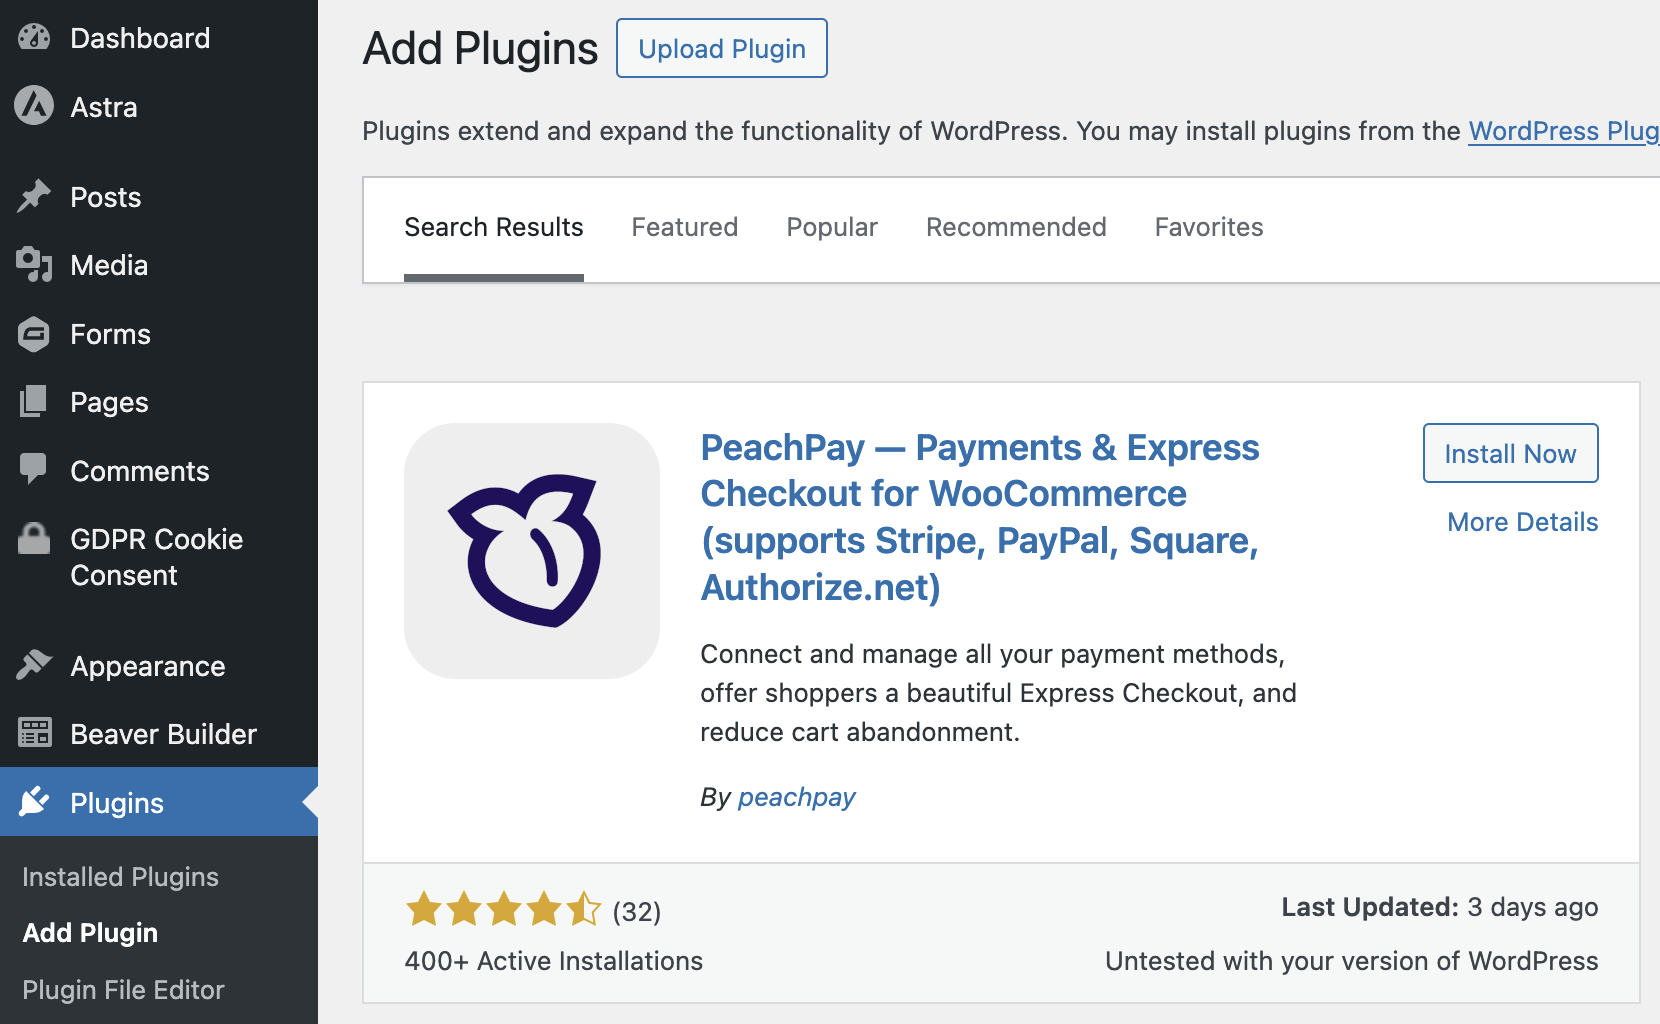
Install and activate the PeachPay plugin directly on the WordPress admin dashboard. In the left navigation bar, go to Plugins and search “PeachPay”.
Connect your ConvesioPay Account
1. In your WordPress dashboard, click the tab labeled PeachPay, then click ConvesioPay.
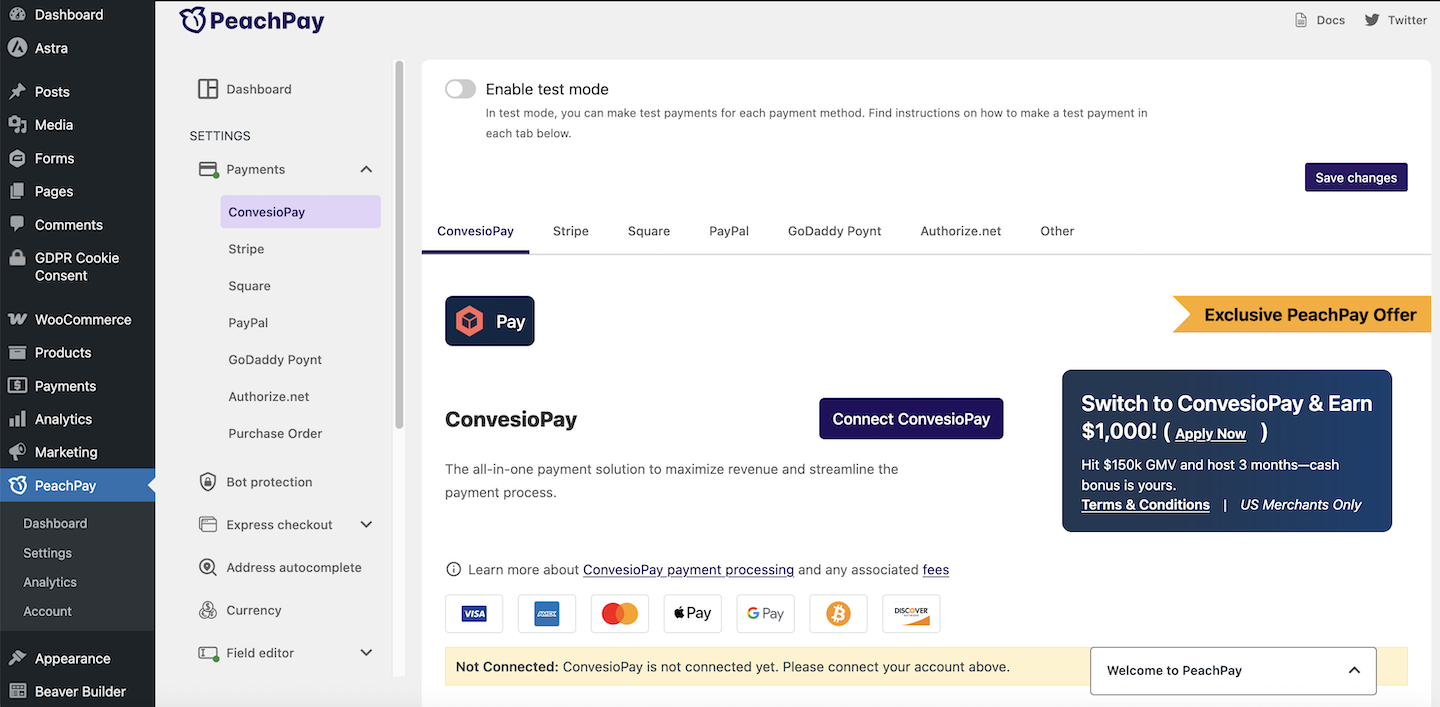
2. Click on the “Connect ConvesioPay” button on the page.
3. You will be redirected to login to your ConvesioPay account and authorize the connection.
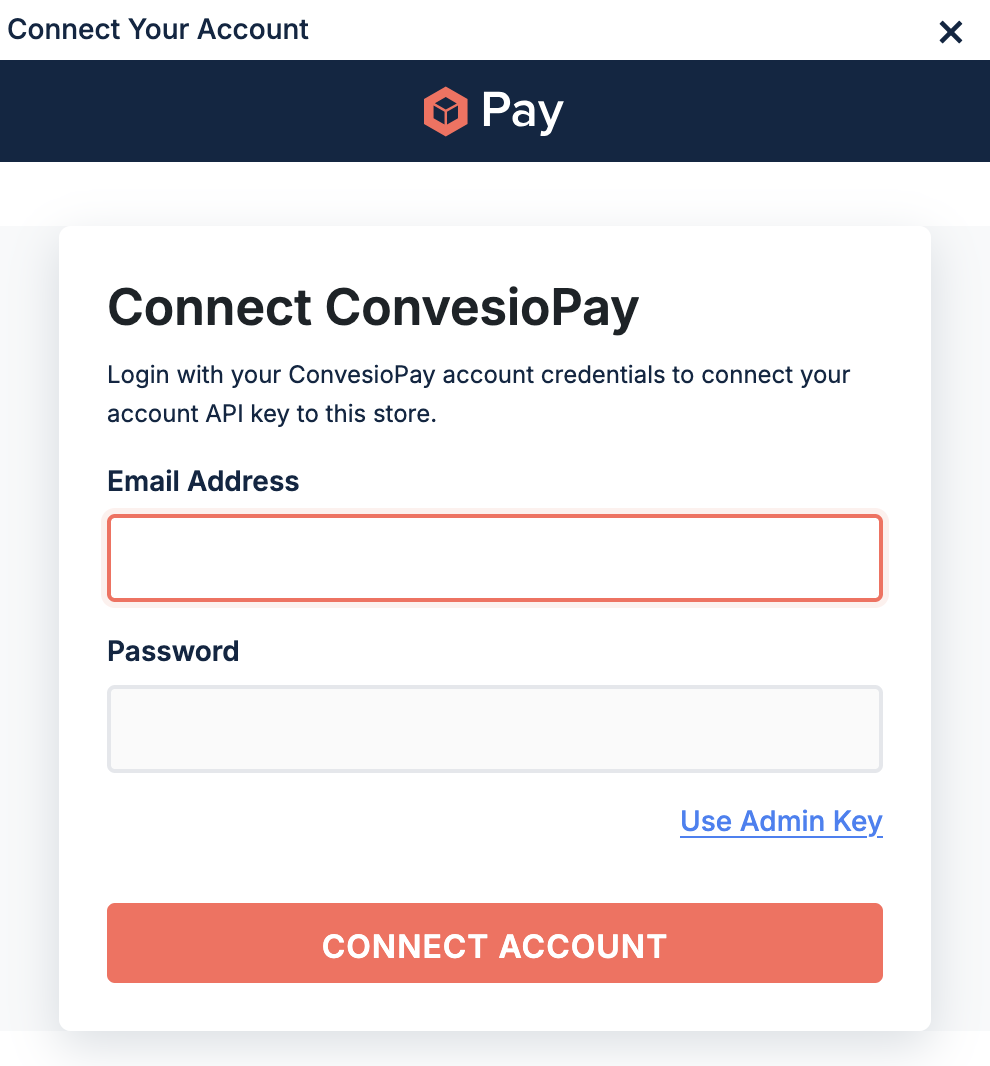
4. You will be directed back to your PeachPay settings page, confirming that the connection is successful and active.
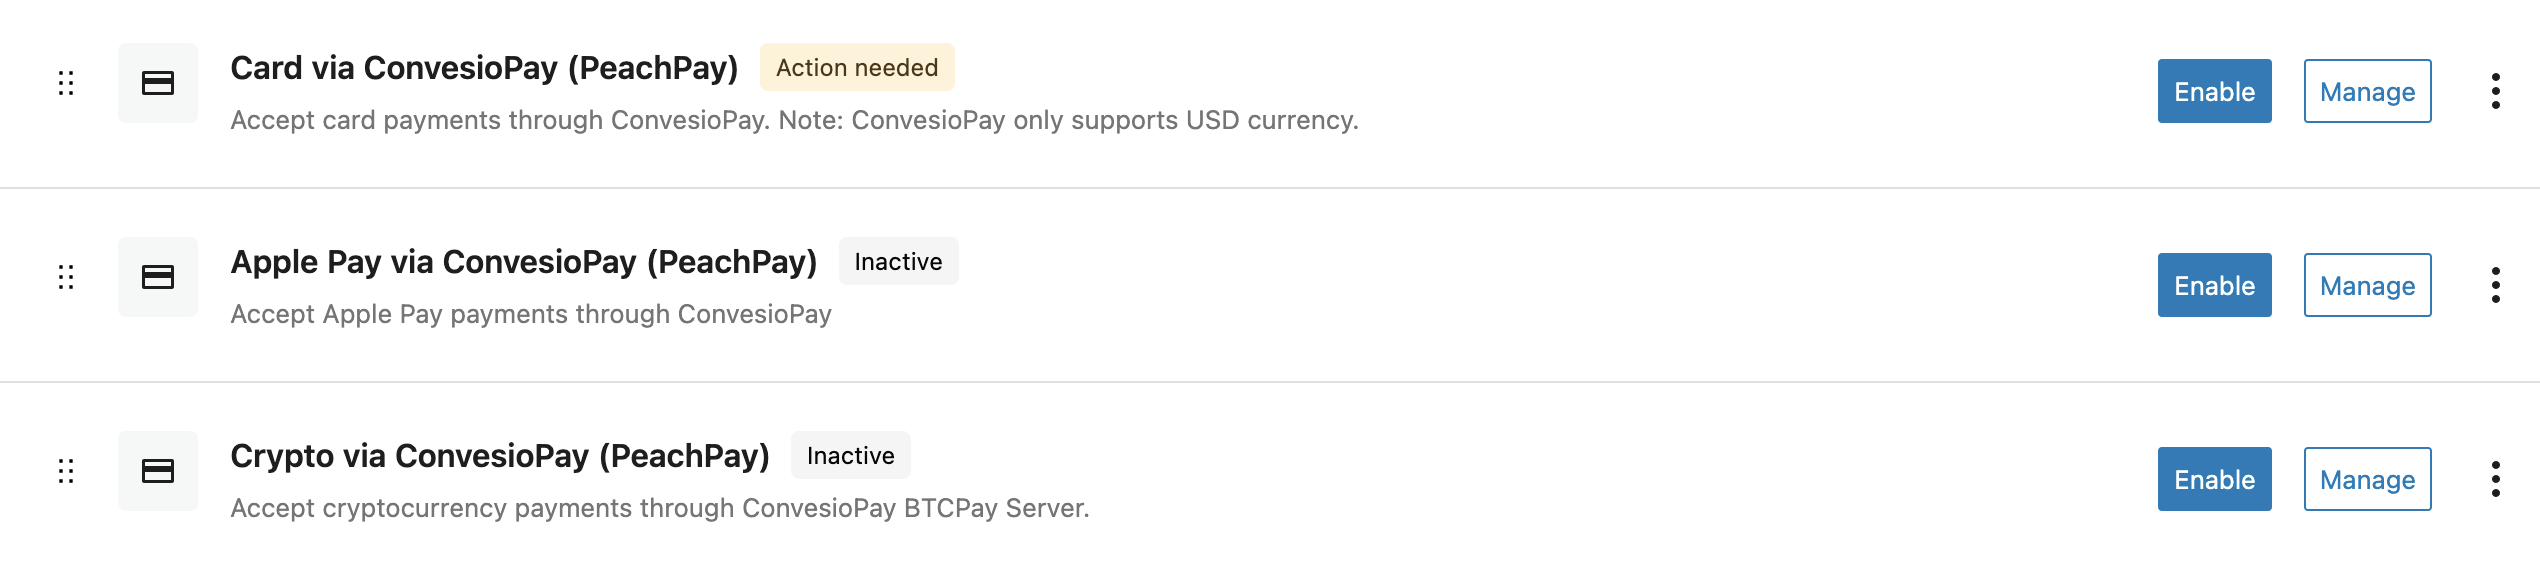
Enable ConvesioPay as a Payment Method in Your Store
Navigate to WooCommerce > Settings > Payments and enable ConvesioPay. If you are transferring from another payment processor, toggle off the old one in here as well.