Send branded, Convesio-hosted payment links to your QuickBooks customers — without routing them through the QuickBooks payments page. ConvesioPay connects to QuickBooks so you can collect payments under your own brand while keeping everything reconciled in QuickBooks automatically.
Before you start
You will need:
- A ConvesioPay account (merchant account active and verified)
- A QuickBooks Online account with invoicing enabled
- Admin access to both accounts
How it works
When you connect QuickBooks to ConvesioPay:
- You create an invoice in QuickBooks as normal.
- ConvesioPay generates a branded payment link pointing to a Convesio-hosted pay page.
- You send that link to your customer — by email, SMS, or any channel.
- The customer pays on the Convesio-hosted page (your branding, your domain).
- Payment is captured and the QuickBooks invoice is marked paid automatically.
Your customer never sees the QuickBooks payment portal — they see your brand.
Step 1: Connect your QuickBooks account
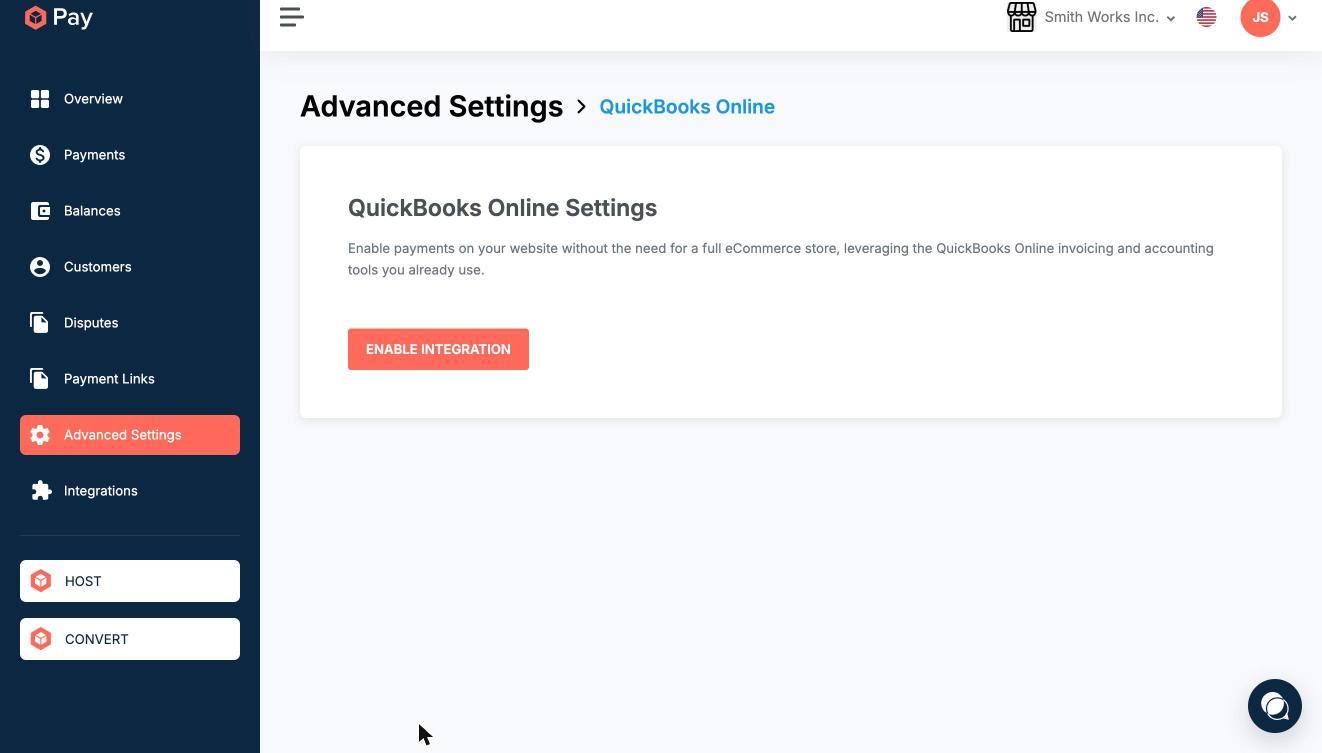
- In your ConvesioPay dashboard, go to Advanced Settings.
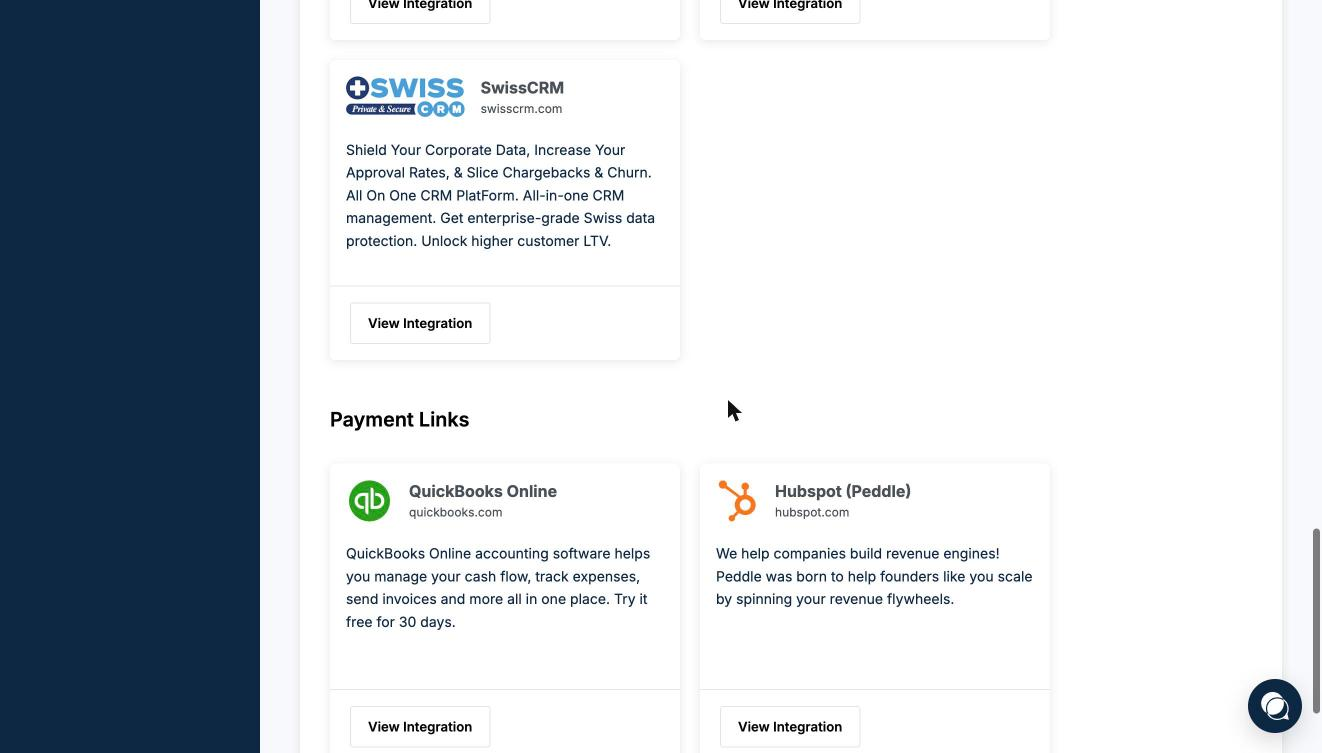
- Under Payment Links Settings, find QuickBooks Online.
- Click Enable Integration.
- You’ll be redirected to QuickBooks to authorize the connection. Sign in with your QuickBooks admin account and click Allow.
- Once authorized, return to ConvesioPay — QuickBooks will show as connected.
Step 2: Create a payment link from a QuickBooks invoice
- In QuickBooks Online, open an existing invoice or create a new one.
- Save the invoice.
- In ConvesioPay, go to Payment Links → New Link.
- Select QuickBooks Invoice as the source and choose the invoice you just created.
- Customize the payment page (logo, colors, descriptor) if needed.
- Click Generate Link.
ConvesioPay creates a hosted payment page tied to that invoice.
Step 3: Send the payment link to your customer
Copy the payment link and send it to your customer via email, SMS, or any channel you use.
Alternatively, ConvesioPay can send the link automatically by email — toggle Send email automatically on the link creation screen before generating.
Step 4: Confirm payment and reconciliation
Once your customer pays:
- ConvesioPay marks the transaction as complete in your activity log.
- QuickBooks automatically marks the invoice as Paid.
- Payment appears under the customer’s record in both systems.
Troubleshooting
QuickBooks shows “Disconnected” after connecting
- The authorization token may have expired. Go to Advanced Settings → Payment Links Settings → QuickBooks Online and click Reconnect.
- Make sure you authorized using an account with QuickBooks Admin permissions.
Invoice doesn’t appear in the payment link picker
- Only saved QuickBooks invoices in Open or Pending status appear. Drafts won’t show.
- Refresh the ConvesioPay invoice list — it syncs every few minutes.
Invoice not marked Paid after customer pays
- Check the transaction in ConvesioPay’s activity log and confirm it shows Completed (not Pending).
- If the status is Completed but QuickBooks hasn’t updated, go to Advanced Settings → Payment Links Settings → QuickBooks Online → Sync Now.